by Cayla Nguyen, Cecilia Nguyen and Celine Hoang, Staff Writers
Do you need a gift to give to that special someone? Well, here are 3 easy DIYs that your significant other will love!
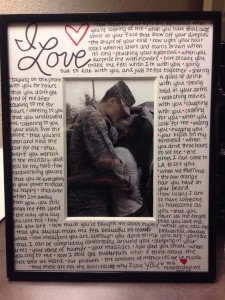
Reasons Why I Love You Picture Frame
Materials:
- picture frame
- picture
- sharpies or pens
- white paper
- glue
Directions:
- Take your paper and cut it to fit the measurement of your picture frame. Then take your picture and glue it to the center of the paper. Make sure there is plenty of room to write around the picture.
- Write what you love about your significant other on the paper, filling up the entire piece of paper. You can also decorate the paper to your liking.
- Put the paper into the frame.
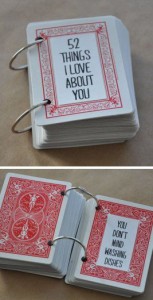
52 Things I Love About You Cards
Materials:
- deck of cards
- 2 metal rings
- paper
- sharpies or pens
Directions:
- Cut out 53 pieces of 3×6 cm. pieces of paper.
- Write out the title “52 Things I Love About You” onto one piece and write 52 things you love about your significant other on the rest.
- Hole punch the top and bottom of each of your cards. (Make sure all the cards are facing the same way when you punch them.)
- Glue each piece of paper on the center of the side of a card where there are no numbers.
- Put your cards in order and hook them trough the metal rings.
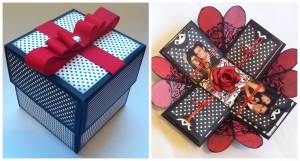
Explosion Box
Materials:
- 4 pieces of different colored cardstock ( 12″ x 12″, 10.5″ x 10.5″, 9″ x 9″ and 6″ x 6″)
- scissors
- glue
- decorations for your box (photos, decorative paper, etc.)
Directions:
- Take your biggest piece of paper and make 2 lines at 4″ intervals horizontally and vertically. You should end up with 9, 4″ x 4″, boxes. Do the same with the other two pieces of paper, except for the smallest one, but make the mark at 3.5″ intervals on the medium piece of paper, and at 3″ intervals on the second to smallest paper.
- Fold the paper at each line. Use your scissors to cut out the four corners so you are left with a cross shape. Do this for each piece of paper.
- Layer the papers so that the biggest one is on the bottom and the smallest ones is on the top. Glue only the center square of each piece of paper in this same exact format so that the four sides are not glued together.
- Decorate the box with pictures, tape, ribbon, decorative paper, etc., to your liking.
- To make the cover, take your smallest piece of paper and make a 1″ border around all four sides of the paper. Start at the lower right corner and cut up to the intersection. Don’t cut the horizontal line. Rotate the paper 90 degrees and again cut up to the intersection on the vertical line. Rotate another 90 degrees and cut the third cut. Rotate one more time and make the last cut.
- Glue the tabs to the sides of the cover. You should end up with something that resembles the cover. Put it on top of your box to finish.