by Cayla Nguyen, Cecilia Nguyen and Julia Pacis, Staff Writers
Are you tired of looking at bland, white walls and dull rooms? Spice up your space with some spook-tacular Do It Yourself (DIY) projects!
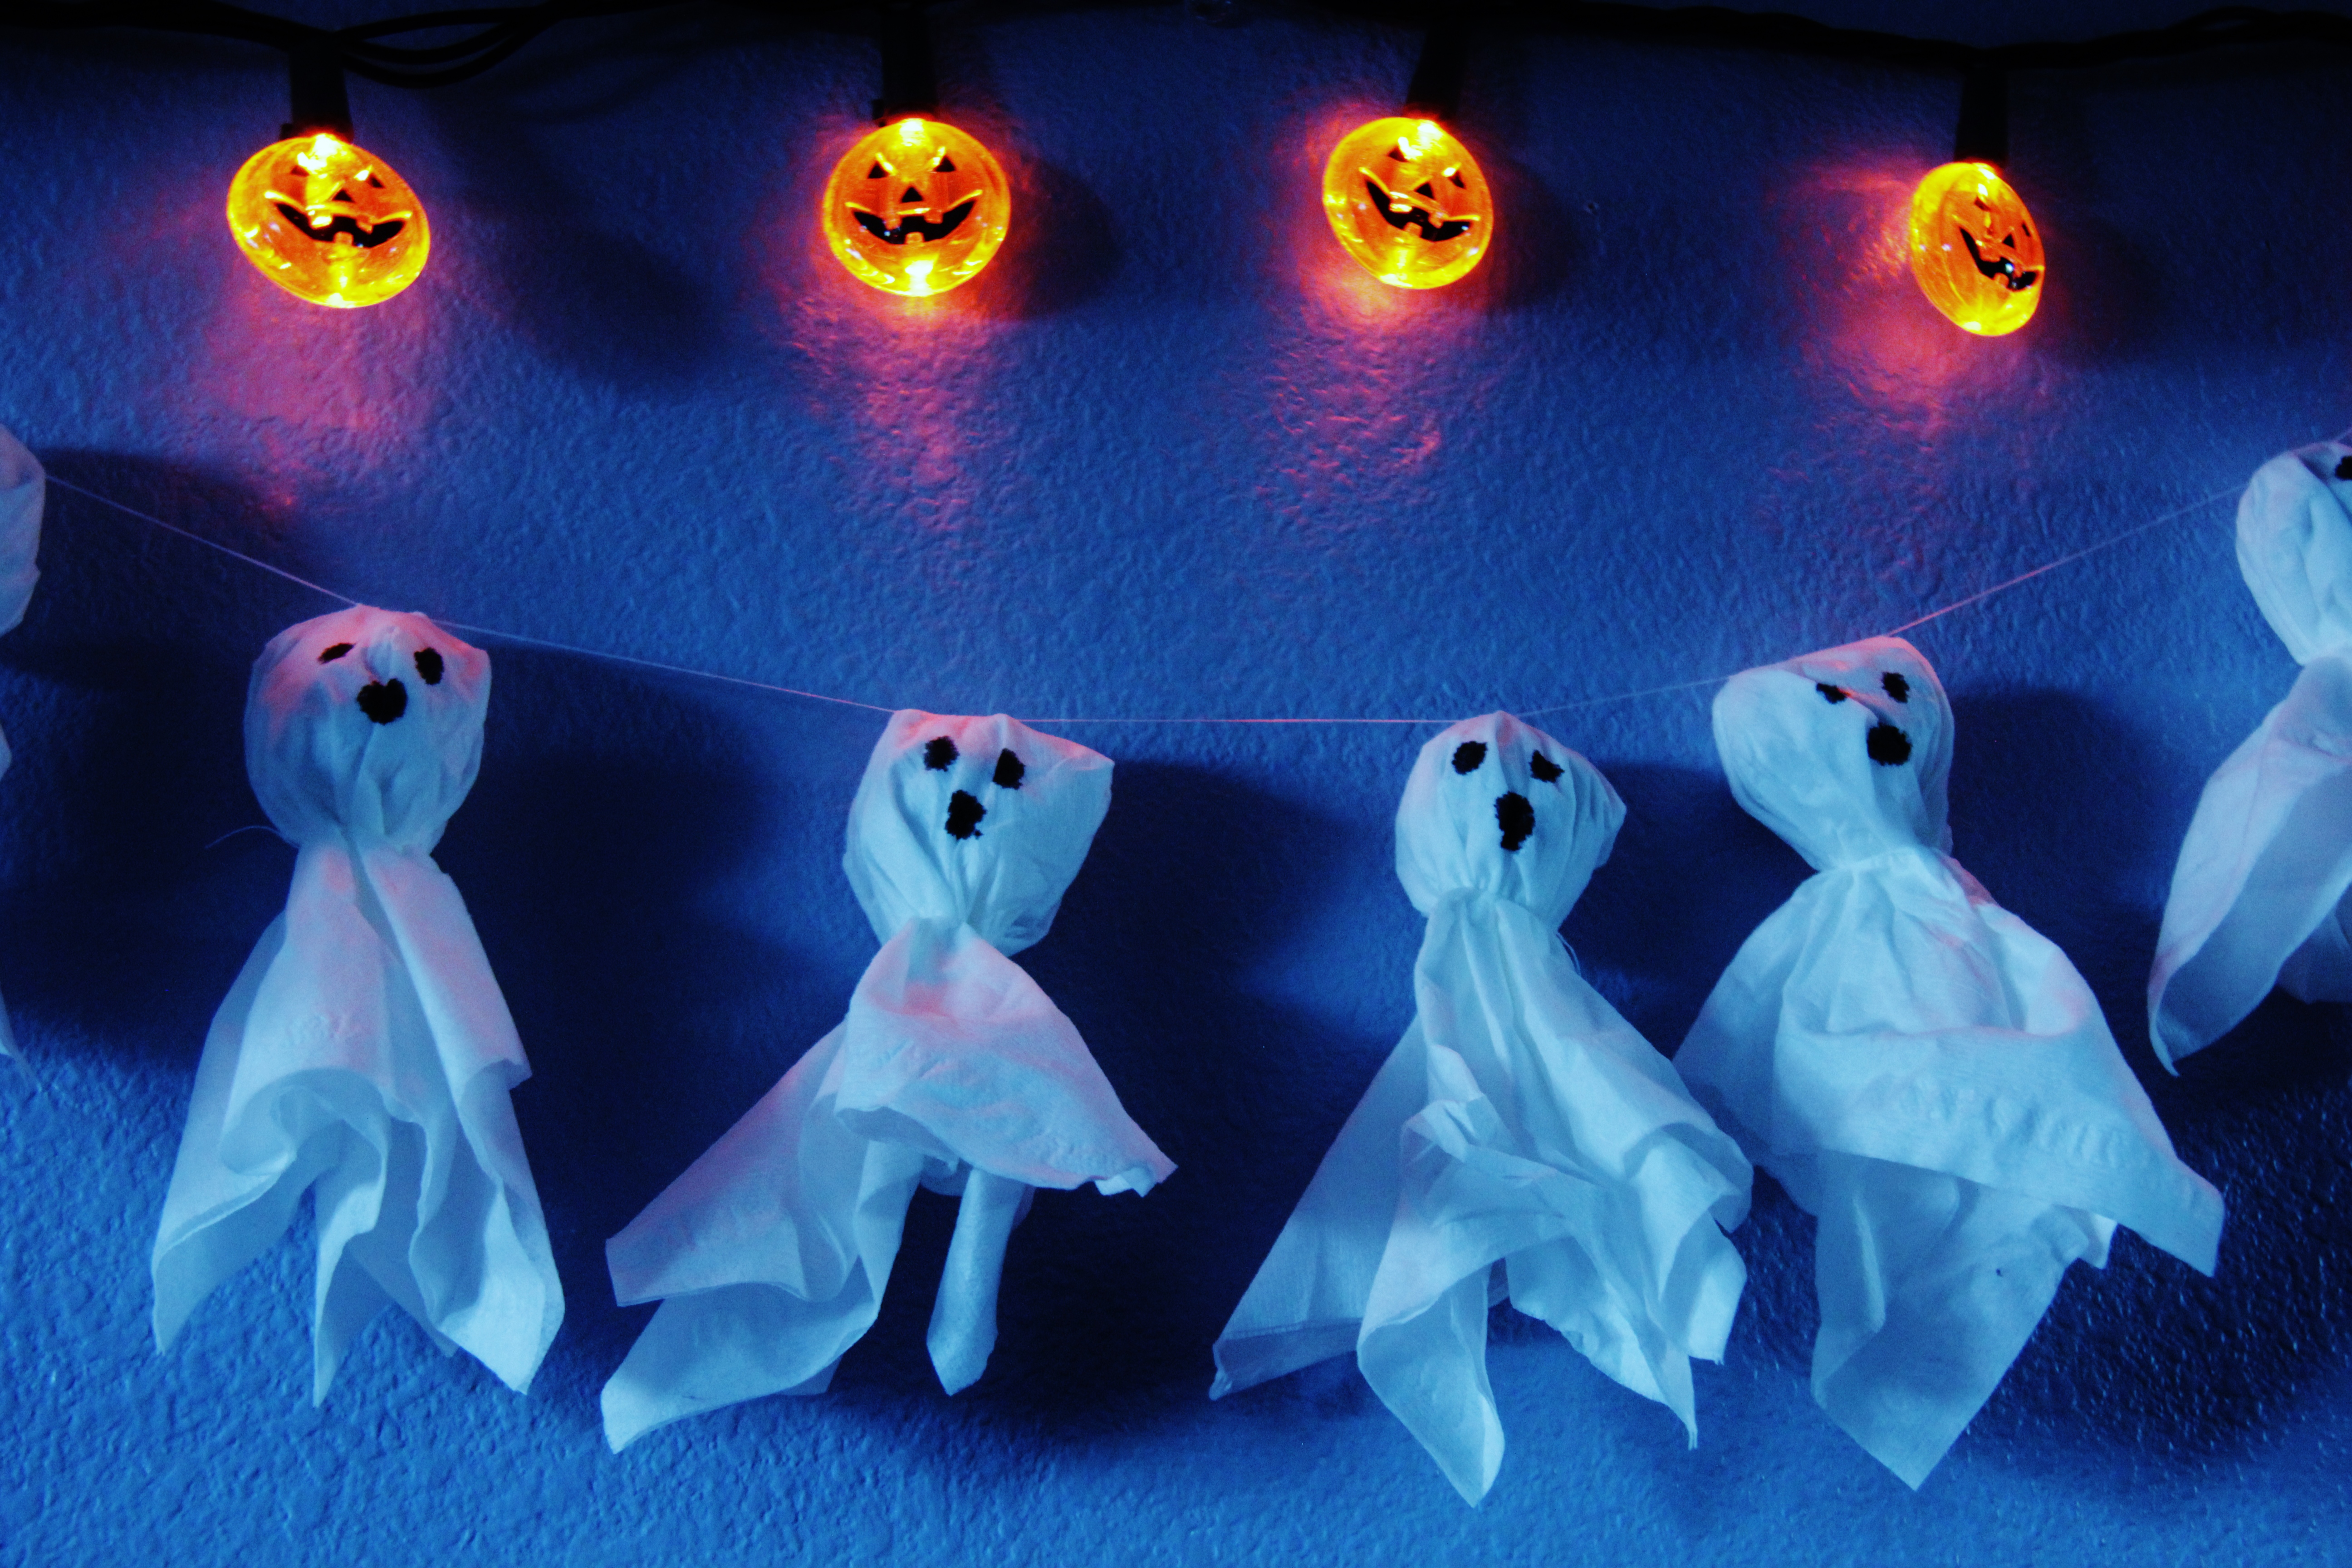
Ghost Garland
Materials Needed:
- Kleenex
- Foil
- White thread
- Sharpie
- Needle
Instructions:
- Gather all materials listed above.
- Shape foil into a ball. Amount of foil used will depend on the desired size of the ghost’s head.
- Place the tissue over the ball with excess tissue hanging over the ball.
- Pinch together at the bottom of the ball and tie off with thread.
- Repeat the process until you have the desired amount of ghosts.
- Use the Sharpie to draw a face on the ghosts.
- Thread your needle.
- Put your needle through the heads of the ghosts, making sure to avoid the foil. Sew through all ghost heads.
- Hang up garland and position ghosts as needed.
Decorative Mason Jars
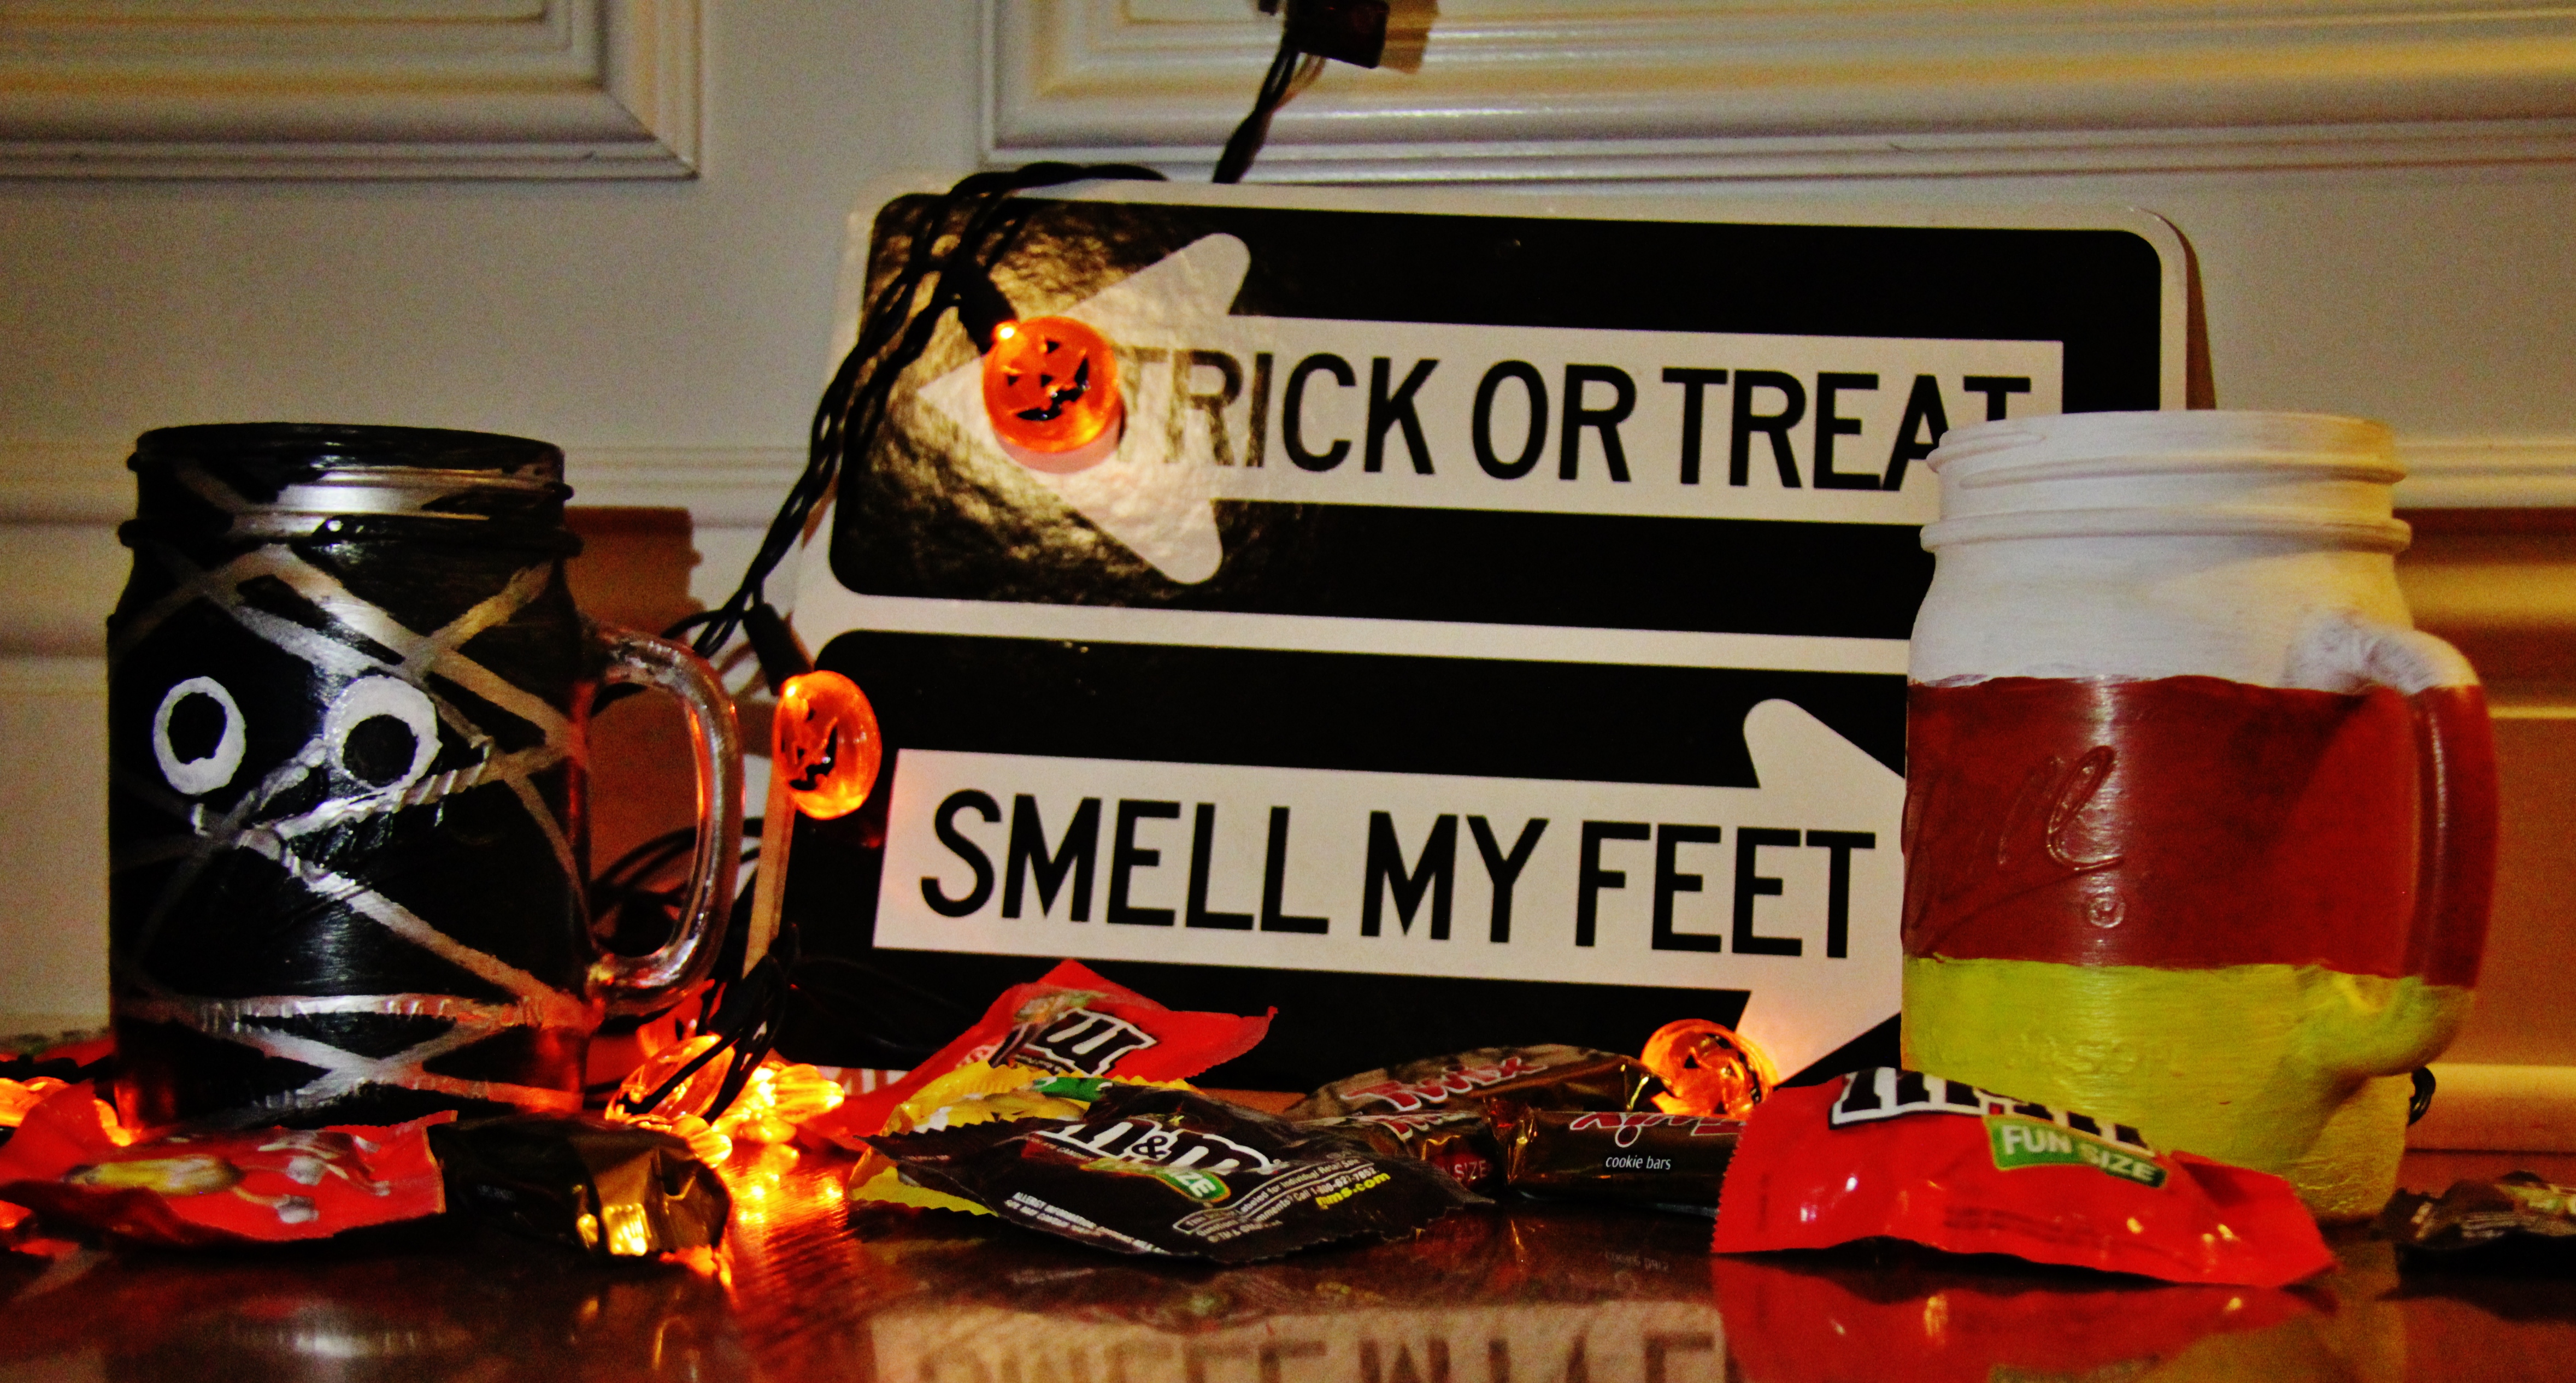
Candy Corn Jar
Materials Needed:
- Mason Jar
- white, orange and yellow acrylic paint
- paintbrush
Instructions:
- Gather materials listed above.
- Paint jar yellow, orange and white from bottom to top.
Mummy Jar
Materials Needed:
- Mason Jar
- rubber bands
- black, white and silver paint
- paintbrush
Instructions:
- Gather materials listed above.
- Paint the Mason jar silver or desired color for mummy bandages. Let dry completely.
- Place rubber bands in preferred positions.
- Paint jar black. (Tip: When painting neat the rubber bands, make sure to paint in a dabbing motion to prevent bleeding under the rubber band.)
- Let dry completely and remove rubber bands.
- Clean up edges as needed.
- Paint two white circles and two smaller black circles in the center of the jar to make the eyes. Make sure the white coat dries before applying the black paint.
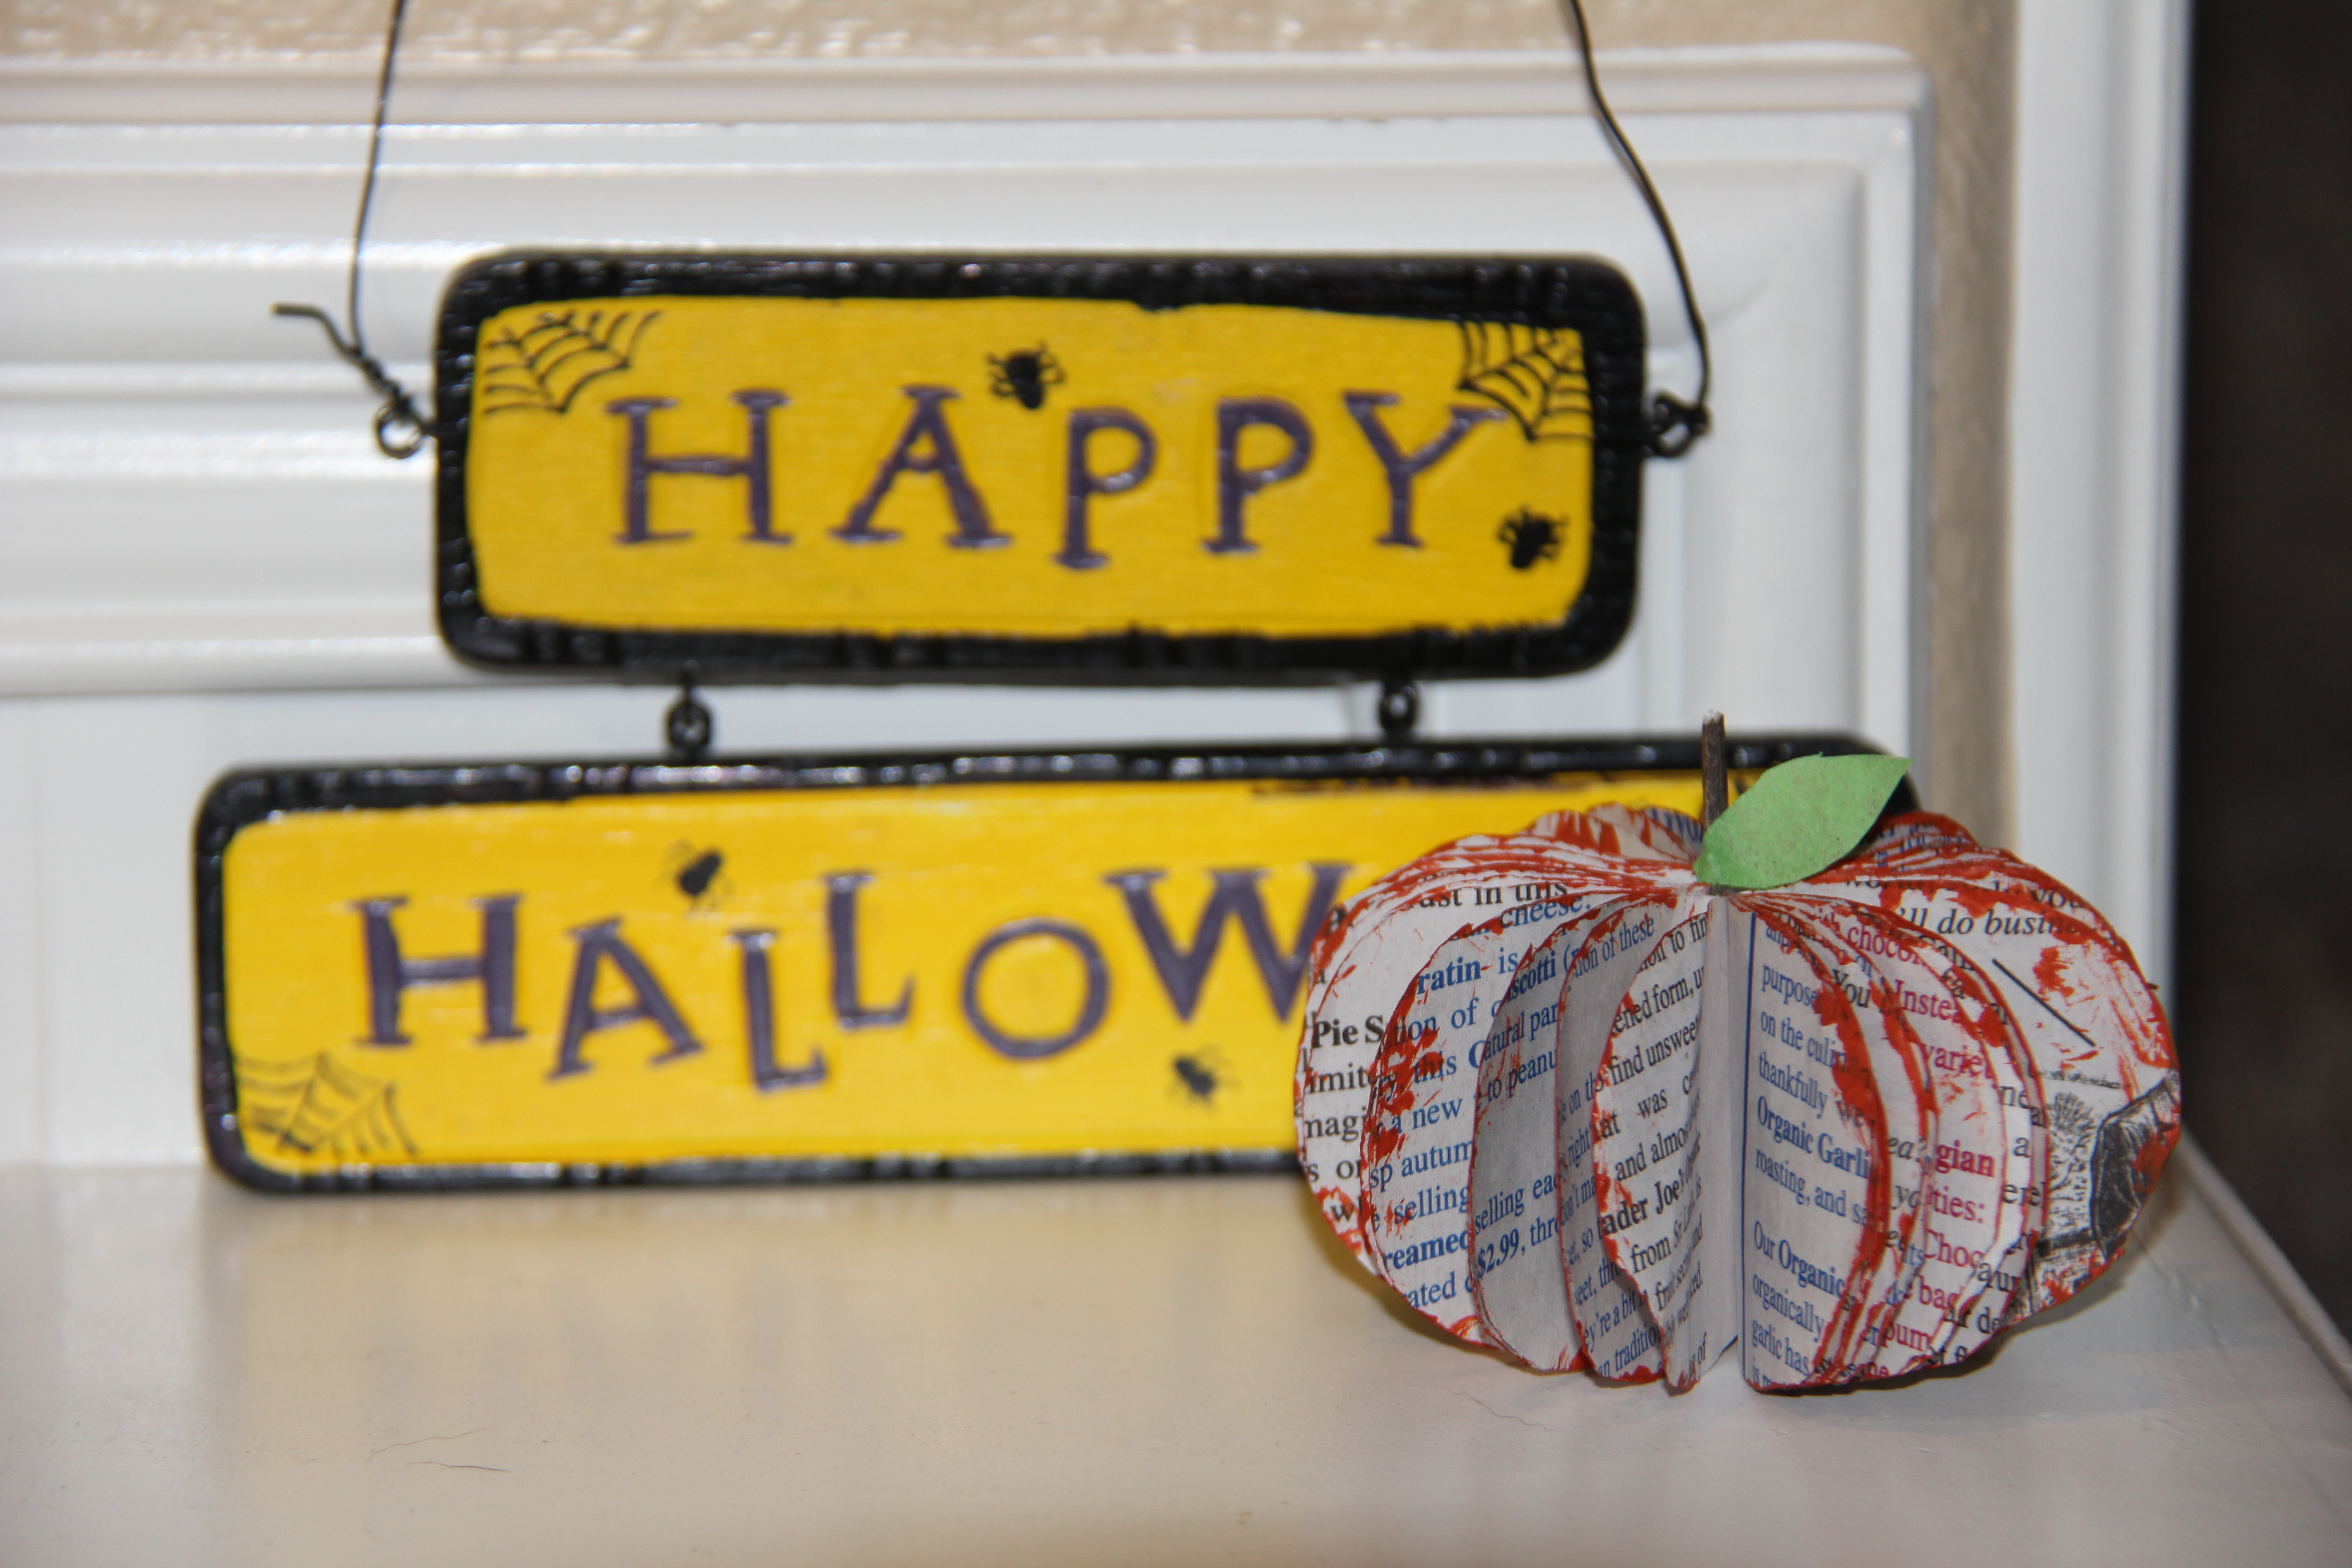
Book Page Pumpkin
Materials Needed:
- book
- scissors or X-acto knife
- stick
- hot glue gun
- glue stick
- green paper
- orange paint or spray paint
- paint brush (optional)
Instructions:
- Gather all materials listed above.
- Take your book and rip off the cover.
- Fold a scrap piece of paper in half and sketch the shape of half of a pumpkin to your desired size. Cut the shape out.
- Place your template on the book with the straight edge against the binding of the book.
- Trace and cut the outline of the pumpkin onto the book. (Tip: Cut the book five-10 pages at a time for easier cutting.)
- Once you have cut out the pumpkin, take the last page of each side and glue them back to back. Pull the pages as needed to fan it out evenly.
- Take your spray paint and lightly spritz the edges of the pages. (If not available, use paint.)
- Get your stick and cut it to about an inch long. Glue the stick on top of your pumpkin. You can also cut out a leaf from green paper and glue it to the stick.