By Hannah Park
I’ve always been an eraser aficionado. Whether it be collecting those little Daiso animal erasers that—quite frankly—weren’t good at erasing anything, or writing “YES” and “NO” on a poor rectangular eraser and throwing it wildly while simultaneously babbling silly questions, I was quite the fan of the little rubbery things that magically rubbed out our stray pencil marks.
You can imagine the glee I felt when my fifth-grade friend, Hani Hamade, taught me how to transform a boring eraser into a fun character with the supplies we had right in our classroom!
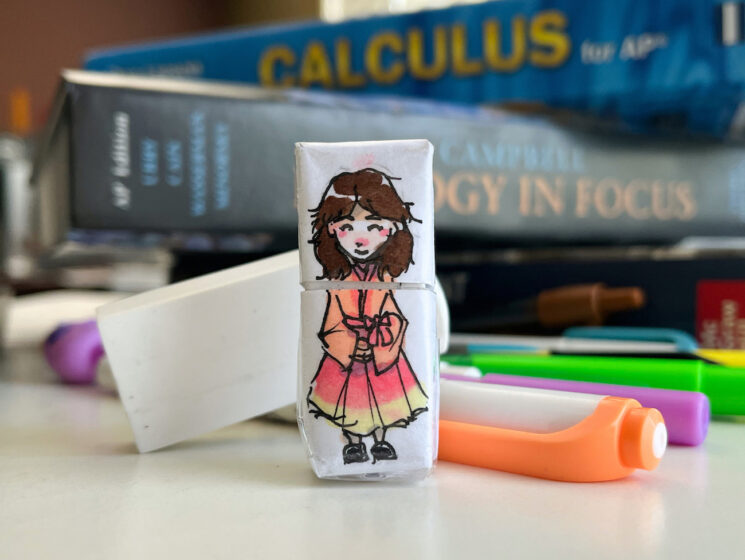
I thought I’d outgrown it, but making one today has filled my day with a little sparkle of joy and childhood memories. Now I have an eraser buddy that will (hopefully) keep me from crying while doing oodles of homework. If you’d also like to cute-ify your eraser, read on!
Materials
- Eraser (Use rectangular ones for best results. In my experience, the slanted pink ones were harder to fold around!)
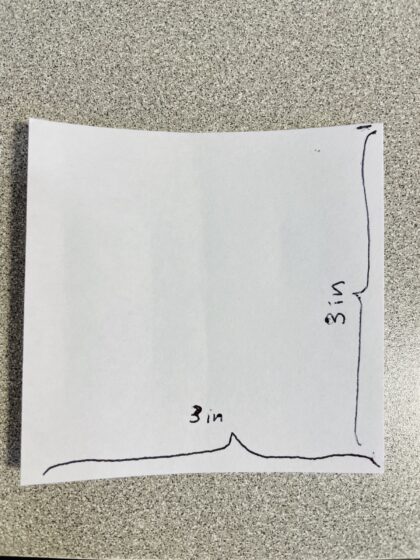
- 3 in x 3 in square of blank paper (I cut it out from regular white printer paper)
- Tape
- Scissors
- Any artsy materials to decorate the cover (pens, markers, etc.)
Photos by Hannah Park.
Steps
- Cut out your 3×3 inch square of paper.
2. Wrap your eraser with the paper like a burrito. Put a very small piece of tape to hold it (you don’t want the tape to get in the way of your drawing)!
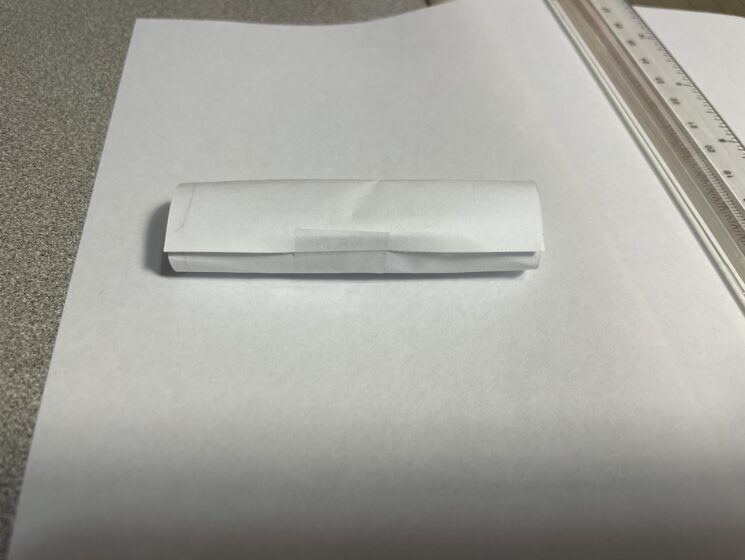
If you’ve wrapped a gift before, this should be a breeze (just pretend like the eraser is a gift). Wrap it up, then skip to Step 9. If you’d like more guidance, just keep reading!
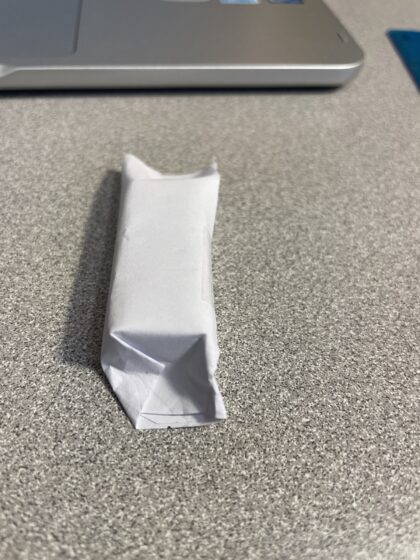
3. Turn the eraser so one opening faces you, and press the top edge of the paper down.
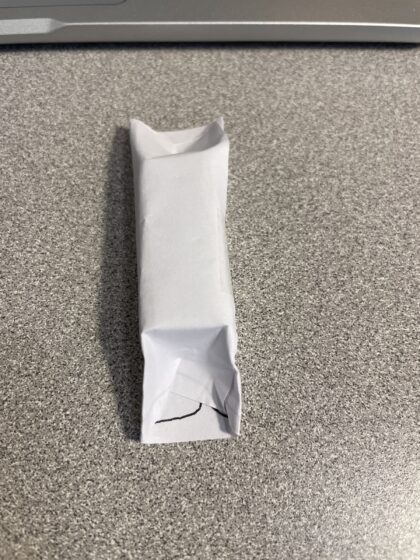
4. If necessary, trim the end so there is just a little bit of excess paper.
5. Fold the left edge so the corner touches the bottom of the eraser.
6. Repeat on the right side.
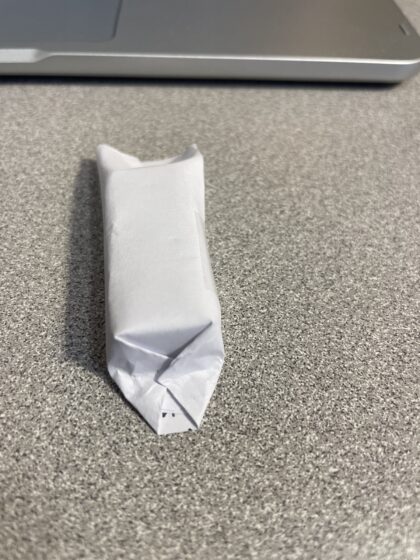
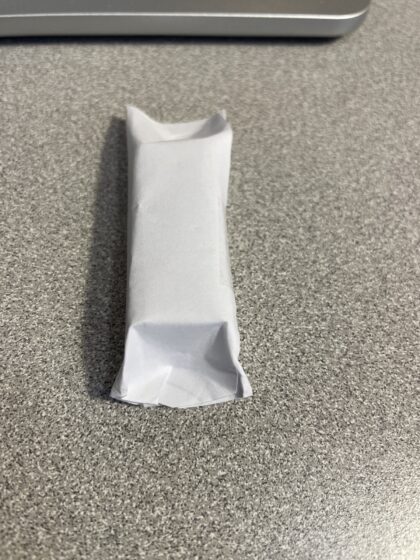
7. Finally, fold the bottom edge of the paper up so it forms a nice little trapezoid. Then put a very small piece of tape to hold it.
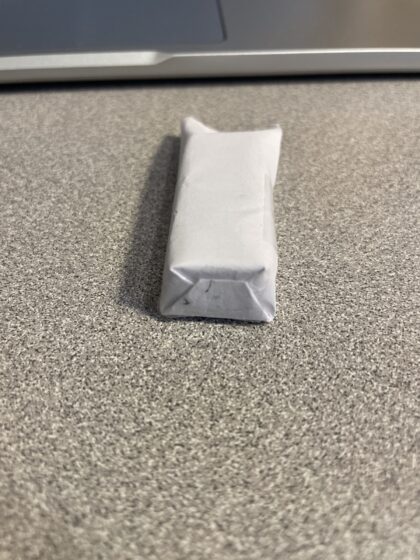
8. Repeat on the other side.
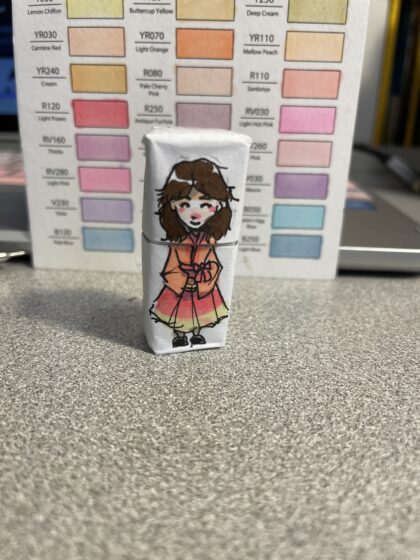
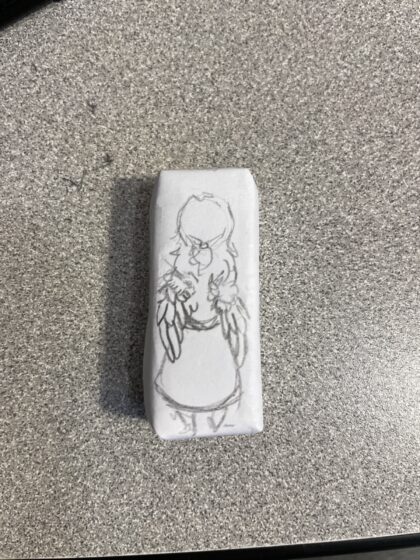
9. Decoration time!! Sketch your desired character on the front and back sides.
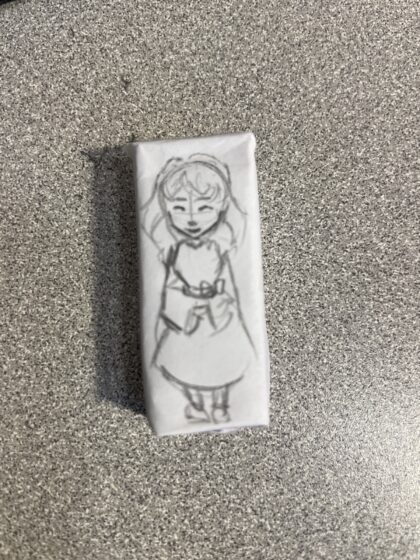
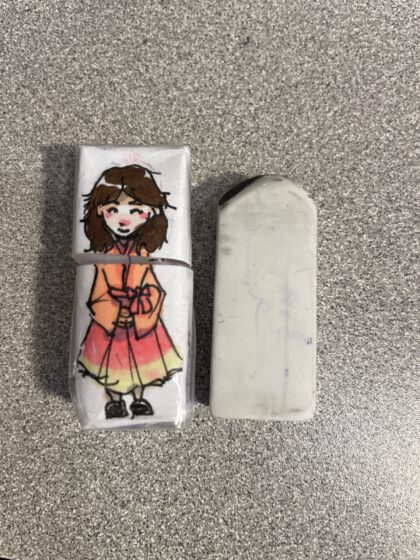
10. Color your creation for maximum cuteness.
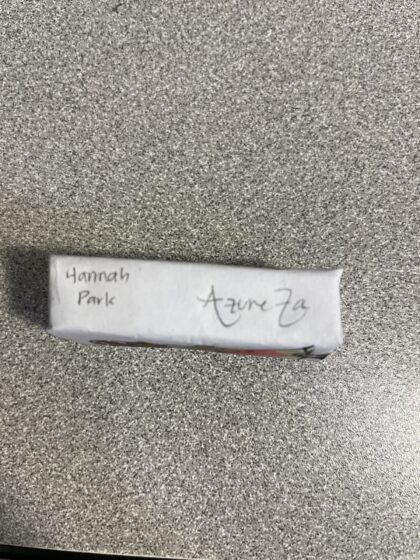
11. Write your name in case it gets lost. If you want, name your character for funsies.
12. Peel off the tape from one side of the eraser and wiggle the eraser out (long fingernails help…). Then tape the paper closed again. After, cut your design in half so you have a “cap” (the head) that you can take off whenever you need to erase.
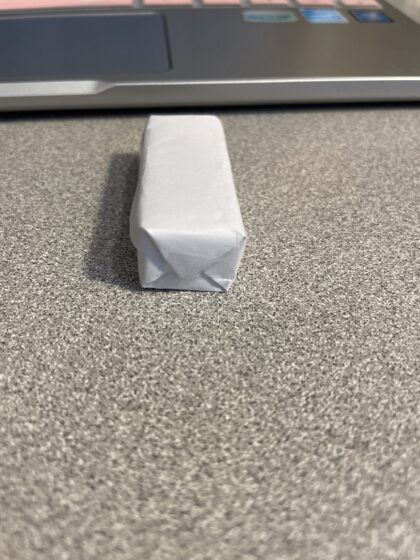
13. OPTIONAL: Simply “laminate” your eraser by covering your paper cover with tape (see above image). It will last longer and keep it from ripping easily!
14. Enjoy!